If you’re building an app with Firebase — whether it’s React, Next.js, or React Native — you’ll need Firebase configuration keys to connect your frontend to the database. This guide walks you through exactly how to find them safely and integrate them into your project.
1. Create a Firebase Project
Go to the Firebase Console. Click “Add project”, give your project a name, and click Continue. Once the project is created, click Continue again to access your new Firebase dashboard.
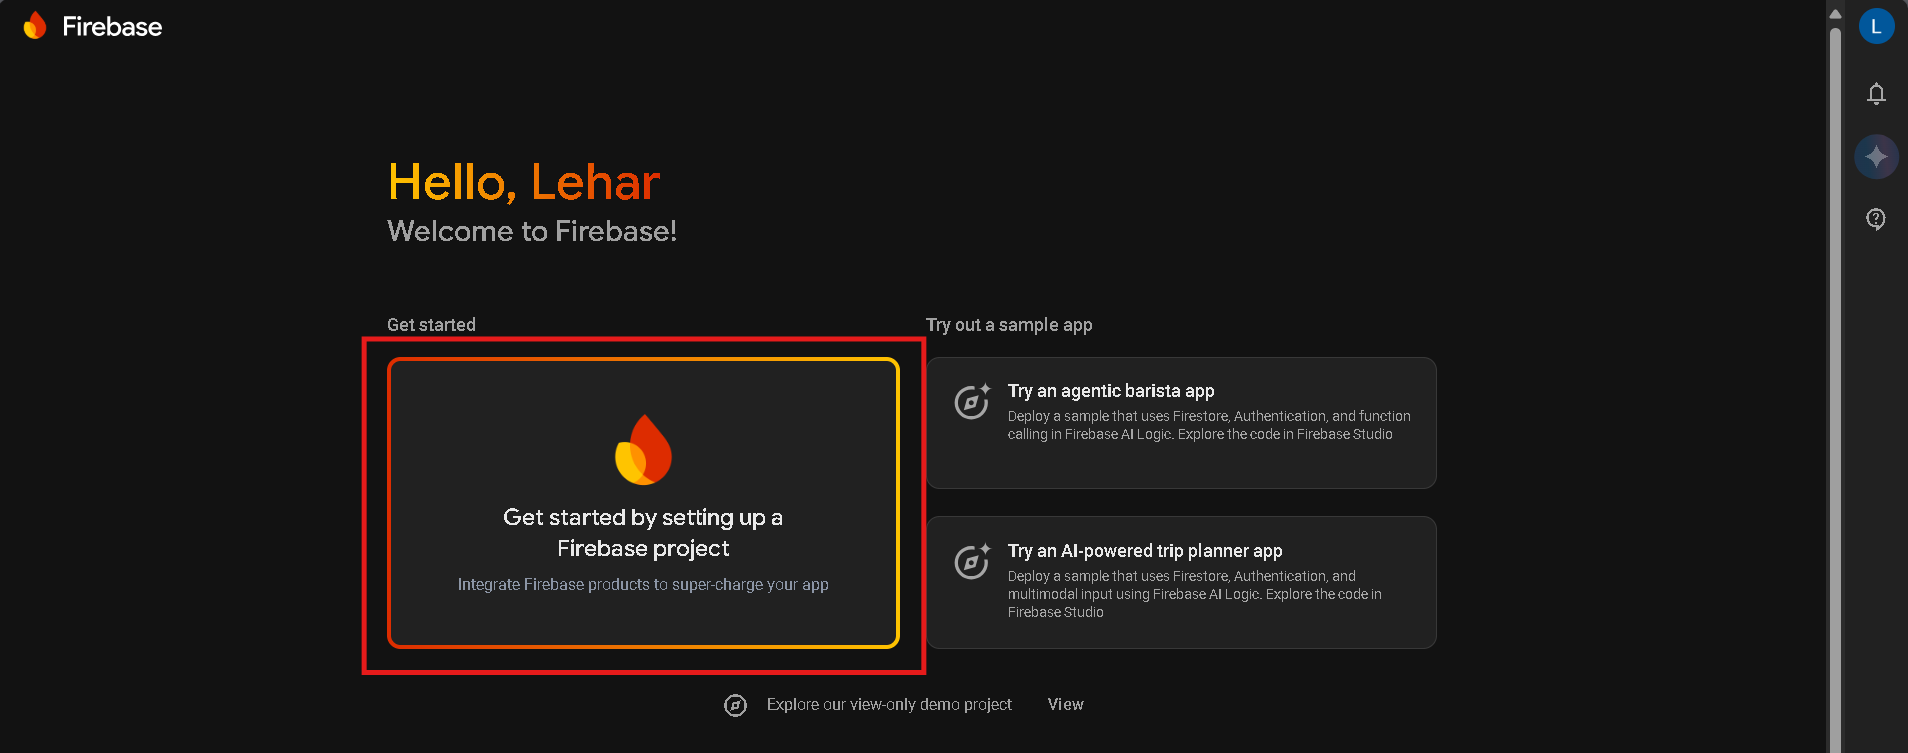
Figure 1
2. Add a Web App
1. In the left sidebar under Build, go to Project Overview and click on the + Add app button as shown in Figure 2.
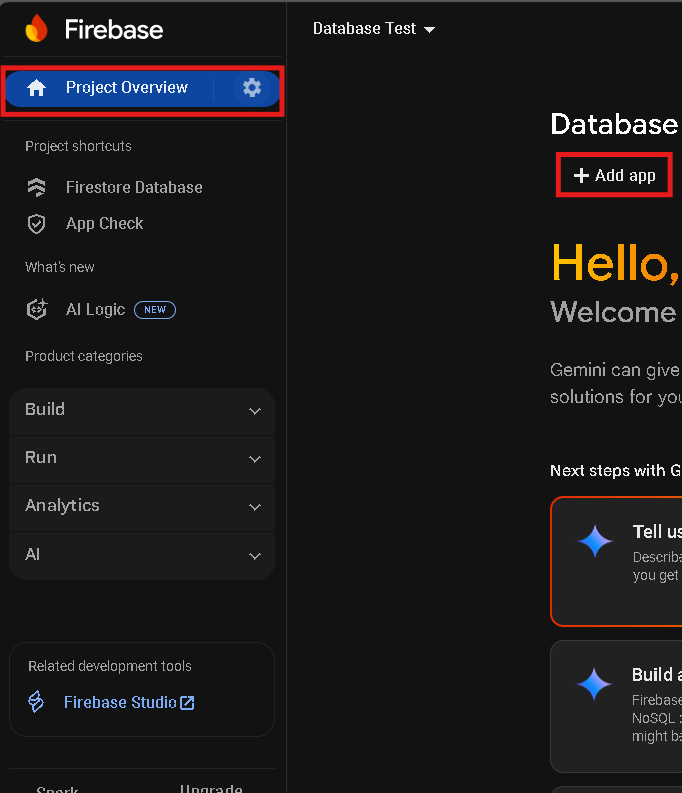
Figure 2
2. Click on the </> Web icon as shown in Figure 3, then
enter your app’s nickname (e.g., my-web-app).

Figure 3
3. Click Register app. Firebase will generate a code snippet like this:
const firebaseConfig = {
  apiKey: "AIzaSyD**************",
  authDomain: "your-app.firebaseapp.com",
  databaseURL: "https://your-app.firebaseio.com",
  projectId: "your-app",
  storageBucket: "your-app.appspot.com",
  messagingSenderId: "1234567890",
  appId: "1:1234567890:web:abcdef123456",
};
3. Copy Your Firebase Keys
These configuration values are your Firebase keys:
- 1. apiKeys
- 2. authDomain
- 3. databaseURL
- 4. projectId
- 5. storageBucket
- 6. messagingSenderId
- 7. appId
You'll need these keys to initialize Firebase in your application.
4. Initialize Firebase in Your Project
1. Install the Firebase SDK using your terminal:
npm install firebase
2. Create a firebase.js file and add the following code:
import { initializeApp } from "firebase/app";
import { getDatabase } from "firebase/database";

const firebaseConfig = {
  apiKey: "AIzaSyD**************",
  authDomain: "your-app.firebaseapp.com",
  databaseURL: "https://your-app.firebaseio.com",
  projectId: "your-app",
  storageBucket: "your-app.appspot.com",
  messagingSenderId: "1234567890",
  appId: "1:1234567890:web:abcdef123456",
};

const app = initializeApp(firebaseConfig);
export const db = getDatabase(app);
You can now use the db instance to read and write to your
Firebase Realtime Database.
5. Keep Your Keys Safe
Firebase config keys aren’t sensitive secrets, but you should still follow best practices to secure your app:
-
1. Store keys in environment variables (e.g.,
.env.localfor Next.js) - 2. Never expose write access publicly
- 3. Always configure Firebase security rules properly
Example .env.local file:
NEXT_PUBLIC_FIREBASE_API_KEY=AIzaSyD**************
NEXT_PUBLIC_FIREBASE_AUTH_DOMAIN=your-app.firebaseapp.com
NEXT_PUBLIC_FIREBASE_DATABASE_URL=https://your-app.firebaseio.com
NEXT_PUBLIC_FIREBASE_PROJECT_ID=your-app
NEXT_PUBLIC_FIREBASE_STORAGE_BUCKET=your-app.appspot.com
NEXT_PUBLIC_FIREBASE_MESSAGING_SENDER_ID=1234567890
NEXT_PUBLIC_FIREBASE_APP_ID=1:1234567890:web:abcdef123456
Then use these in your config like this:
const firebaseConfig = {
  apiKey: process.env.NEXT_PUBLIC_FIREBASE_API_KEY,
  authDomain: process.env.NEXT_PUBLIC_FIREBASE_AUTH_DOMAIN,
  databaseURL: process.env.NEXT_PUBLIC_FIREBASE_DATABASE_URL,
  projectId: process.env.NEXT_PUBLIC_FIREBASE_PROJECT_ID,
  storageBucket: process.env.NEXT_PUBLIC_FIREBASE_STORAGE_BUCKET,
  messagingSenderId: process.env.NEXT_PUBLIC_FIREBASE_MESSAGING_SENDER_ID,
  appId: process.env.NEXT_PUBLIC_FIREBASE_APP_ID,
};
YOU’RE ALL SET! 🚀
Your app can now securely connect to Firebase using your configuration keys.