
Add a custom domain to your Replit project and make it accessible with your own professional URL instead of the default Replit link. This guide walks you through the requirements, setup, and DNS configuration process across providers like Cloudflare, Hostinger, Namecheap, and GoDaddy.
1. Requirements
Before starting, ensure you have purchased a domain from a provider such as Cloudflare, Hostinger, Namecheap, or GoDaddy, and that you are subscribed to the Replit Pro version.
2. Navigate to Domain Linking
There are two ways to reach the domain linking screen in Replit:
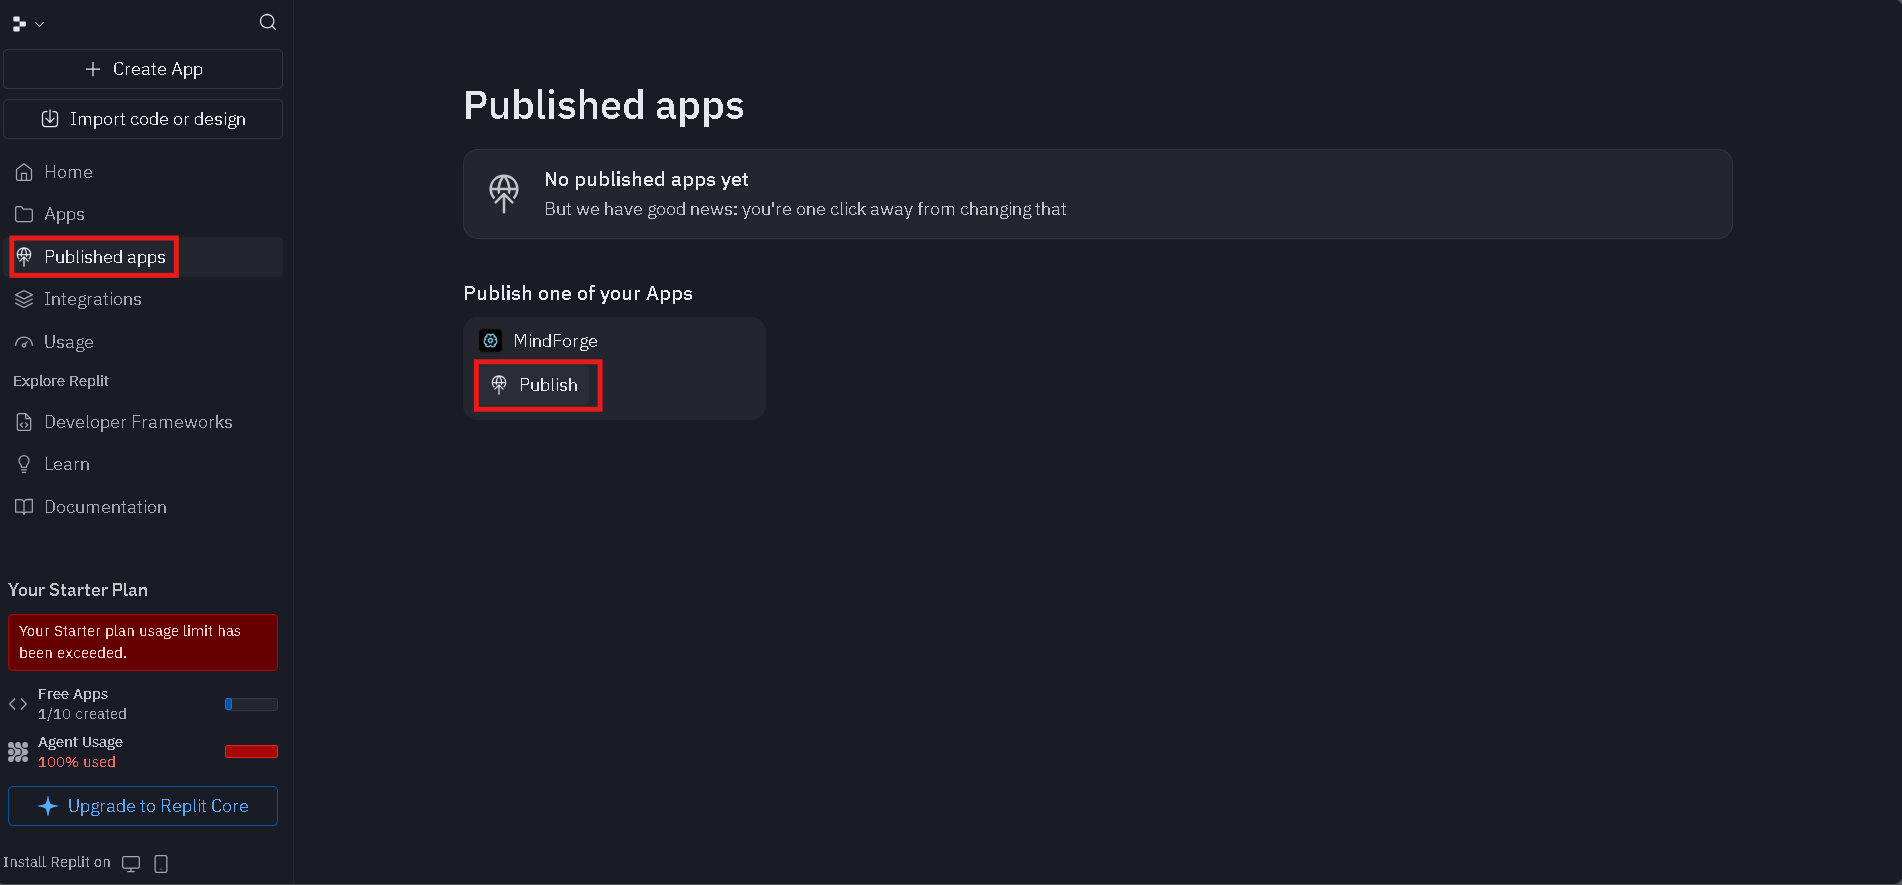
- Case I: Navigate to the specified tab and click the button shown in the interface as shown in Figure 1.
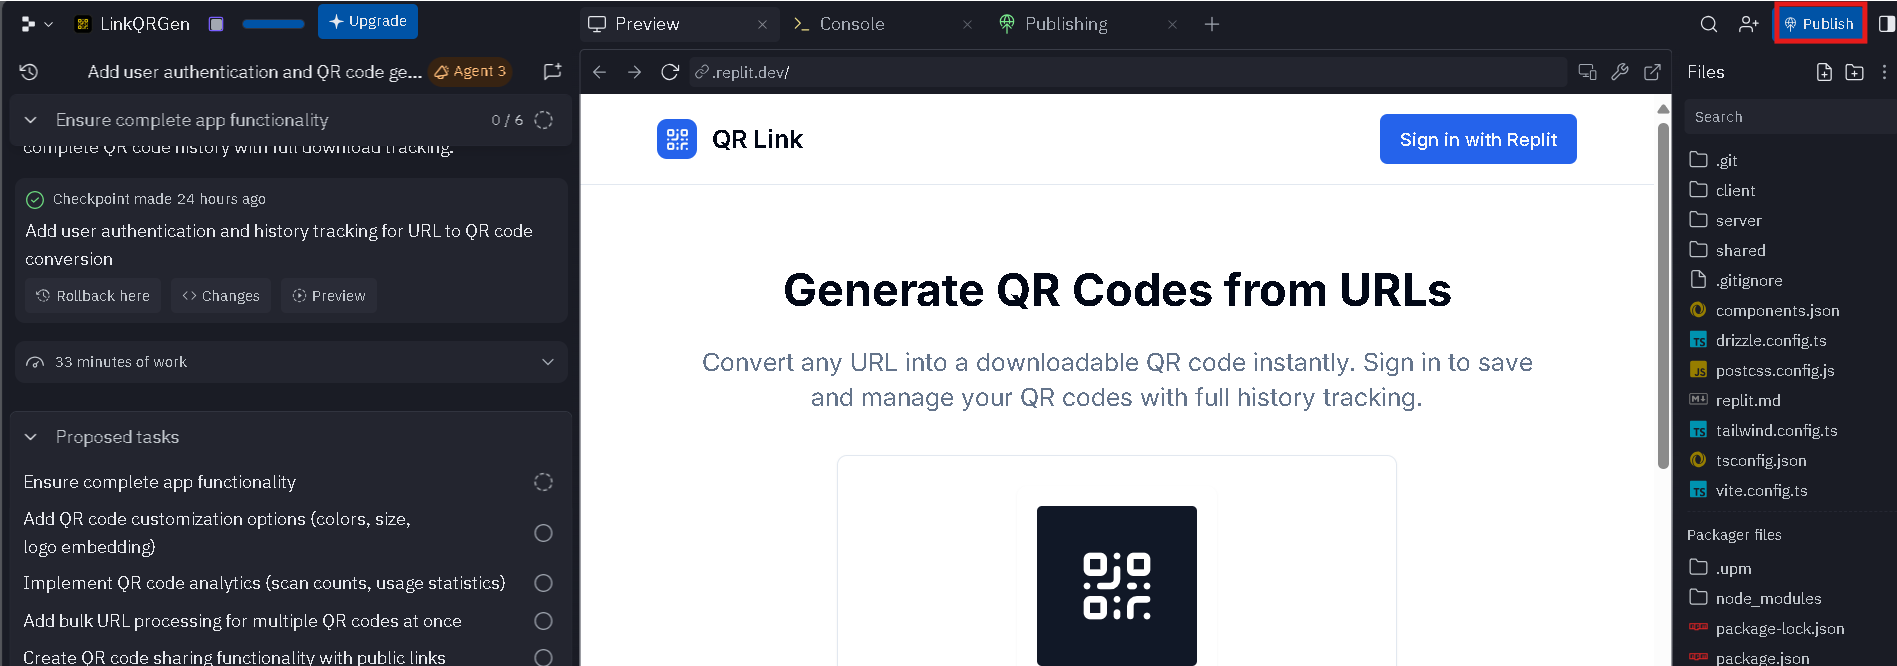
- Case II: After creating a project, click the Publish button.
3. Start Linking Your Domain
On the next screen, click the option to settings tab, then click
+ Link a domain. Enter your domain (e.g.,
https://example.com) and press Next.

Replit will display A and TXT records. Copy these and add them to the DNS settings of your hosting provider (Cloudflare, Hostinger, Namecheap, or GoDaddy). This step connects your purchased domain to Replit’s hosting infrastructure.

After updating the DNS records, return to Replit and click the Link Domain button. DNS propagation may take 5–10 minutes.
Conclusion
Congratulations! You have successfully added a custom domain to your Replit project. For a more detailed walkthrough, you can watch the official Add a custom domain to your Replit project guide by Replit. Your project is now live with a professional URL that enhances credibility and accessibility.