Redux is a javascript library for managing and centralizing application state. it becomes very difficult to manage data flow in the large applications. Redux solves this problem by managing the state with single global object called Store. To demonstrate the basic working of redux, we are going to create a simple counter application, so let's start by setting up the project.
Setting up project
Let's create a new react app using Create React App and start it, by running the following commands:
npx create-react-app counter-app
cd counter-app
npm start
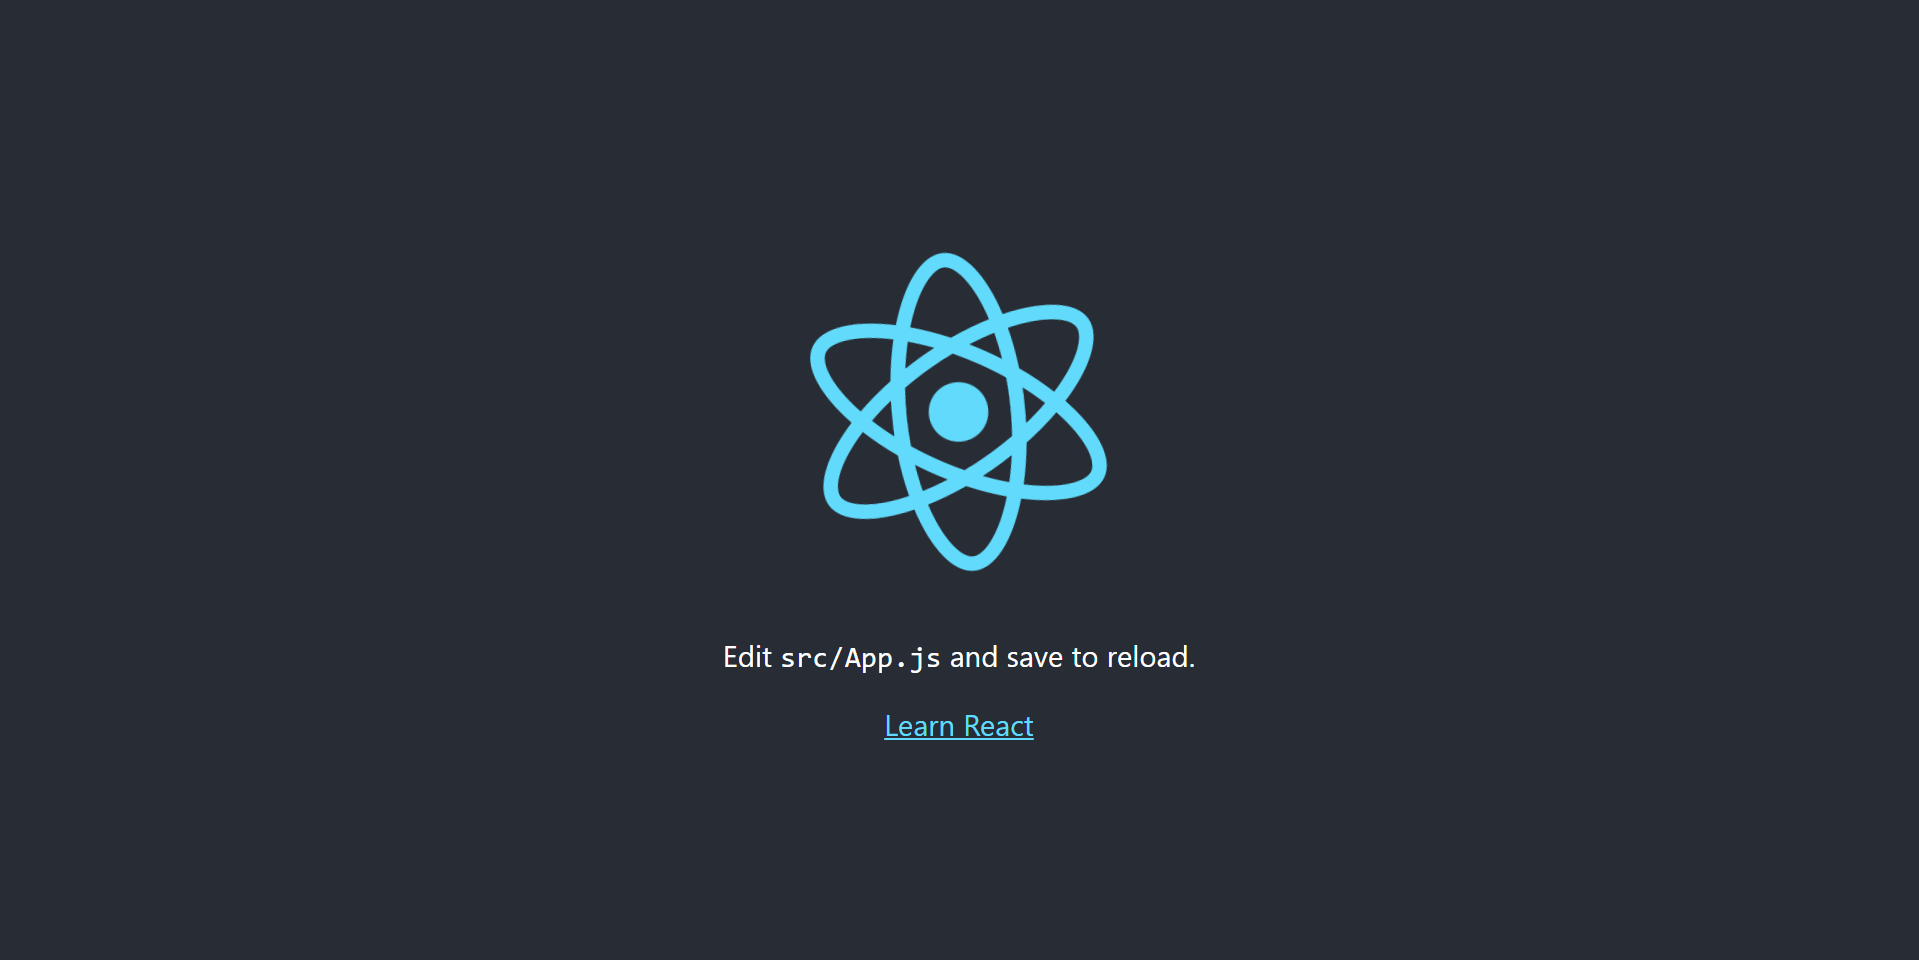
This should start your project at port 3000 (e.g. http://localhost:3000/):

Now we are going to install following packages for better redux setup:
- redux: The core javascript library for managing and centralizing application state.
- react-redux: The official React bindings for Redux.
- @reduxjs/toolkit: The official, opinionated, batteries-included toolset for efficient Redux development.
- redux-persist: Optionally you can install this package if you want to persist and rehydrate a redux store.
You can install all of these 4 packages by running the following command:
npm i redux react-redux @reduxjs/toolkit redux-persistSetup redux store
Create a new directory called store inside src directory
Create a new directory called slices inside src/store directory
Create a new file called counter.js inside src/store/slices directory:
import { createSlice } from "@reduxjs/toolkit";

const initialState = {
    count: 0
};

const counterSlice = createSlice({
    name: "counter",
    initialState: initialState,
    reducers: {
        increment(state, action) {
            state.count += action.payload;
        },
        decrement(state, action) {
            state.count -= action.payload;
        },
    },
});

export const counterActions = counterSlice.actions;
export default counterSlice.reducer;
In this code we have created a slice called counter by using createSlice function, and exported actions and reducer of that slice. You can create slices for better code management, for example you can create different slices for authentication and todo items.
Create a new file called index.js inside src/store directory:
import { configureStore } from "@reduxjs/toolkit";
import storage from "redux-persist/lib/storage";
import { combineReducers } from "redux";
import { persistReducer } from "redux-persist";
import counterSlice from "./slices/counter";

const reducers = combineReducers({
    counter: counterSlice,
});

const persistConfig = {
    key: "root",
    storage,
};

const persistedReducer = persistReducer(persistConfig, reducers);

export const store = configureStore({
    reducer: persistedReducer,
    middleware: (getDefaultMiddleware) => getDefaultMiddleware({
        serializableCheck: false
    })
});
In this code we have created and exported the application's store. First we have called the combineReducers function to combine multiple slices in our case its just a single counter slice, but you can combine multiple slices, for example authentication and todo items.
const reducers = combineReducers({
    counter: counterSlice,
});
then we created a persisted reducer for persisting and rehydrating data by calling persistReducer function:
const persistConfig = {
    key: "root",
    storage,
};

const persistedReducer = persistReducer(persistConfig, reducers);
at the end we created the store by calling configureStore function, we passed persistedReducer as a reducer, and disabled serializable check by overriding middleware property:
export const store = configureStore({
    reducer: persistedReducer,
    middleware: (getDefaultMiddleware) => getDefaultMiddleware({
        serializableCheck: false
    })
});
Using redux store
Create a new directory called components inside src directory
Create a new file called counter.js inside src/components directory:
import { useDispatch, useSelector } from 'react-redux';
import { counterActions } from "../store/slices/counter";

function Counter() {
    const dispatch = useDispatch();
    const counter = useSelector((state) => state.counter);

    return (
        <div>
            <div>Count: {counter.count}</div>
            <button onClick={() => dispatch(counterActions.increment(1))}>Increment</button>
            <button onClick={() => dispatch(counterActions.decrement(1))}>Decrement</button>
        </div>
    );
}

export default Counter;
In this code we created an component called Counter. First we created the reference to dispatch function by calling useDispatch function, then we extracted the counter state by calling useSelector function, after that we created a label for displaying count and 2 buttons, 1 for incrementing the count, and 1 for decrementing the count, and in the onClick event handlers of both buttons we incremented and decremented the counter respectively by passing counter actions to dispatch function.
Wrap the content of App component with Provider component, so src/App.js will look like:
import { Fragment } from 'react';
import { store } from "./store/index";
import { Provider } from "react-redux";
import { PersistGate } from "redux-persist/integration/react";
import { persistStore } from "redux-persist";
import Counter from "./components/counter"

let persistor = persistStore(store);

function App() {
    return (
        <Fragment>
            <Provider store={store}>
                <PersistGate loading={null} persistor={persistor}>
                    <Counter />
                </PersistGate>
            </Provider>
        </Fragment>
    );
}

export default App;
In this code we first wrapped the content of App component with PersistGate component to persist and rehydrate the state of application, and the wrapped the PersistGate component with the Provider component to make the Redux store available to any nested components.
Now after all the changes you should see something like this in browser:

I hope this article helps you understand the basics of Redux, and how you can persist and rehydrate a redux store.
Thanks for reading!
